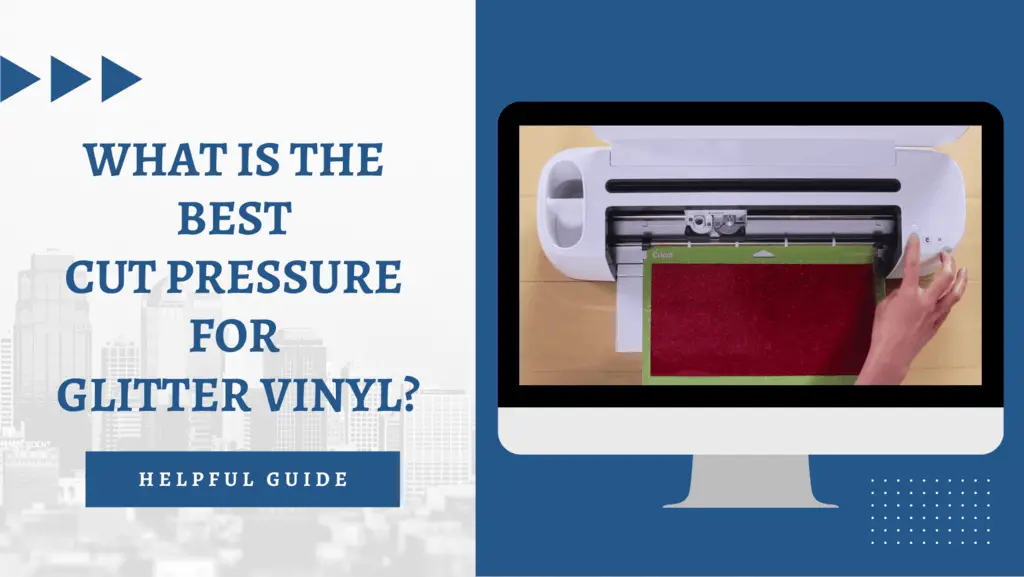
What Is The Best Cut Pressure For Glitter Vinyl? Helpful Guide
Are you interested in finding out What Is The Best Cut Pressure For Glitter Vinyl?
Glitter vinyl includes both glitter permanent vinyl and glitter iron-on vinyl. You can use glitter iron-on vinyl to customize home decor, team or club clothing, handbags, T-shirts, and more!
If you have worked with Glitter before, you know it has a textured finish that requires a deeper machine cut than regular HTV. If you want the best results for your designs, then you should know how to pick the right cutting pressure and how to adjust the settings on the Cricut Machine.
Here Are The 5 Best Selling Glitter Vinyls This Year!
| Products | Ratings | Price |
|---|---|---|
| Red Glitter HTV Heat Transfer Vinyl | 9.7/10 | Check Price |
| Cricut Glitter Iron On Vinyl Sheets | 9.8/10 | Check Price |
| CAREGY Glitter Heat Transfer Vinyl HTV | 9.6/10 | Check Price |
| Cricut Glitter Vinyl | 9.6/10 | Check Price |
| Magical HTV Glitter Heat Transfer Vinyl | 9.8/10 | Check Price |
Glitter vinyl certainly adds a beautiful, unique finish to your projects, but it can also be tricky and frustrating to work with. This article will offer assistance in this regard, as we describe in detail How to cut glitter iron-on vinyl with a Cricut maker and how to set the cut pressure for glitter vinyl. The tips in this article will show you how you can create excellent cutting craft projects while saving money on Cricut supplies.
How to cut glitter iron-on vinyl with Cricut Maker?
Open the Cricut Design Space app. Once you have designed your project to be cut from glitter vinyl, click the green “Make It” button to send it to your Cricut Machine. Make sure your cuts come out perfectly by using the following guidelines!
Load The Glitter Vinyl On The Cricut Machine:
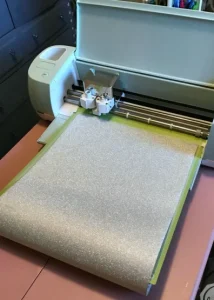
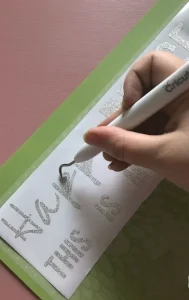
The glitter vinyl should be placed on a sticky mat, with the glossy carrier sheet facing the mat and the glittered surface facing up. Since glitter vinyl is stiffer than standard vinyl, you will need to make sure it is securely bonded to the mat before cutting.
Smart Glitter Vinyl can be fed directly into your machine if you have a Cricut Maker 3, Cricut Explore 3, or Cricut Joy. Using Cricut Design Space’s final cut screen, you will be asked to select your material from the “All Materials” menu. You will need more blade pressure with glitter vinyl than with standard vinyl, so make sure you are choosing the right glitter vinyl (e.g., glitter, iron-on, etc.).
Credit: happilyeverafteretc
Choose & Adjust The Settings For Glitter Vinyl:
As glitter vinyl has a sparkly, rough texture, it can be difficult to cut through perfectly. It is almost always necessary to select (and often adjust) the settings on your machine!
Here, if you are cutting with the Cricut Explore Air 2 then you might be wondering How to cut glitter vinyl with Cricut explore air 2. Then here is your answer;
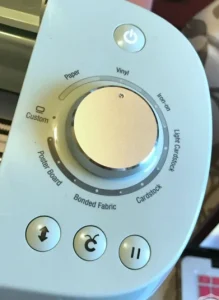
- For Cricut Explore and Cricut Explore Air 2 models with the Smart Set Dial, do not use the “Vinyl” setting. You should set your dial to “Custom,” and then follow the instructions below for how to set your blades to the right settings when cutting glitter vinyl.
Credit: happilyeverafteretc
Check out our Circut Maker 3 Review
Change Blade Pressure:
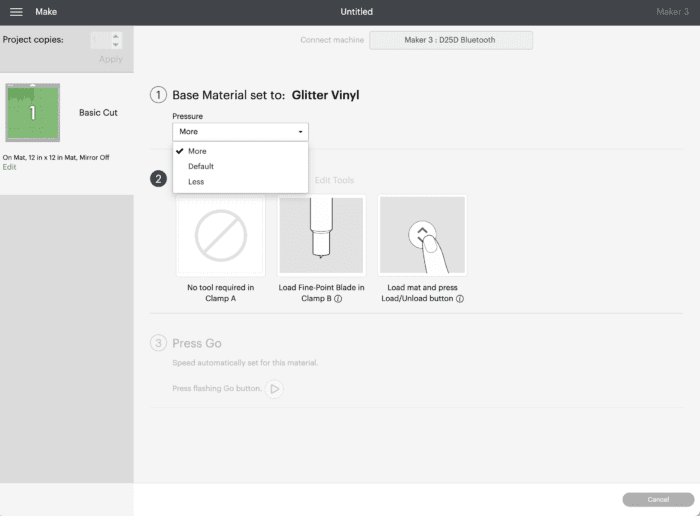
It is important to choose the right materials, but you may still find that this is not enough to produce good results. Therefore, you need to change the blade pressure to “More” (in the Cricut Design Space). It is usually enough to increase the pressure on the glitter vinyl designs to get clean cuts.
Credit: thehomesihavemade
Adjust Material Settings Manually:
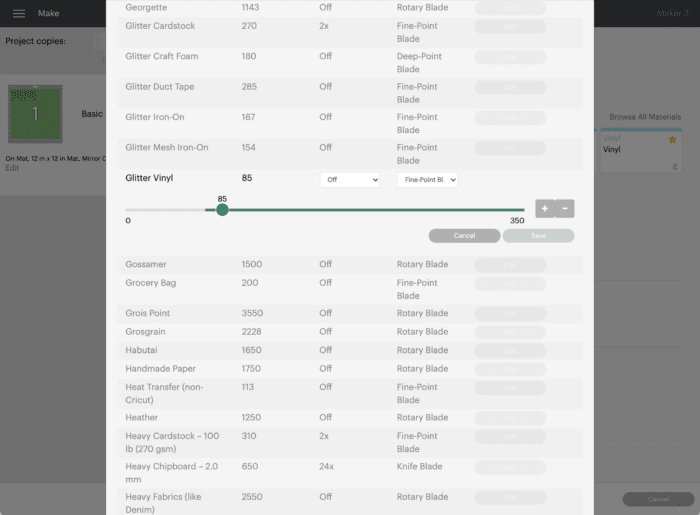
Still, if your glitter vinyl still is not getting perfectly clean cuts, you may have to adjust the vinyl settings manually:
- Click “Materials” on the final cut screen.
- Click “Browse All Materials.”
- Then click “Material Settings” which can be seen in small green letters at the bottom.
- Set your cut settings to “Glitter Vinyl,” increase the pressure and/or pass count, and then save.
Credit: thehomesihavemade
What Should The Cut Pressure Be For Glitter Vinyl?
Cut pressures for glitter vinyl vary depending on its type. Following is a list containing a variety of glitter vinyl along with the types of blades and the cutting pressures (specifically for the Cricut Maker machine). This information is taken from Cricut’s official website:
| Material Name | Cut Pressure | Multi-Cut | Blade Type |
|---|---|---|---|
| Glitter Duct Tape | 285 | Off | Fine-Point Blade |
| Glitter Iron-On | 167 | Off | Fine-Point Blade |
| Glitter Mesh Iron-On | 154 | Off | Fine-Point Blade |
| Glitter Vinyl | 85 | Off | Fine-Point Blade |
| Smart Iron-On – Glitter | 163 | Off | Fine-Point Blade |
| Smooth Glitter Paper | 175 | 2x | Fine-Point Blade |
| Premium Vinyl - Frosted Glitter | 148 | Off | Fine-Point Blade |
Check Before Unloading:
Before unloading the mat/material from the machine, it is recommended to quickly check your cut. You can check your cut by lifting up a corner of the mat (usually the upper left-hand corner) with a weeding tool.
- If your design has separated cleanly and without tugging; then unload it and continue with the weeding process.
- If your glitter vinyl is not perfectly cut through (it sticks or pulls); re-run the project at least one more time (by clicking the Cricut/Go button). Until you get the desired cut results, you will need to keep testing before unloading the project.
Weeding Glitter Vinyl:
After cutting your glitter vinyl, you will have to weed it. A weeding tool is an ideal tool for this task. Using the Cricut EasyPress Machine, you can then apply the vinyl to the final product (e.g., a t-shirt). You can learn more about how to apply your designs properly by checking out the Cricut guide.
Credit: happilyeverafteretc
Check out our guide on How to make shirts with Cricut Maker.
Check Out This Video To Determine How To Cut Glitter Vinyl With A Cricut Maker
FAQ’s
1- What side of the glitter vinyl goes down on the Cricut Machine?
While cutting, the shiny (glittery) side of the vinyl goes up and the glossy side goes down. Be careful not to cut through the carrier sheet when cutting the glitter vinyl. Check your settings on test cuts, and make sure you reverse your image on your computer before cutting the glitter vinyl.
2- Cricut not cutting through glitter vinyl?
Use this tip if your Cricut doesn’t cut glitter vinyl perfectly;
- Simply remove the machine’s blade housing. Be sure to use a Cricut brand blade.
Check out our 10 best Circuit blades for vinyl buyers guide
- Make sure to check the blade and the blade housing for debris that might be stuck to it or lodged there. Run a test cut once the blade and housing are clean.
- If you have already cleaned the blade and housing and it did not help; increase the material’s pressure in Cricut Design Space by 2-4, then do a test cut. To see a change in the cut result, you may have to increase the pressure 2-3 times by 2-4 increments.
Hopefully, you will be able to get proper cuts by trying these tips.
3- How to cut glitter heat transfer vinyl with a Cricut Maker?
You can cut glitter HTV using your custom material settings by searching for ”Glitter” and then selecting ‘Glitter Iron-On’. Lay the glitter heat transfer vinyl on the mat so that the glossy side is facing down. When using a Maker, make sure you have a lot of room behind the machine since it will scan the whole mat before cutting. After that, you will need to load your design into the machine for cutting by clicking the Cricut/Go button.
Final Thoughts
In this article, we discussed the appropriate cut pressure for glitter vinyl. This information will make it easier for you to create your designs and you will even save money on supplies. The more you practice these tips, the easier it will be for you to remember them. Moreover, creating crafts will become much faster once you learn enough about vinyl cutting pressures. Also, your cuts will appear more neat and professional.
Thanks for picking out our article; What Is The Best Cut Pressure For Glitter Vinyl Cricut? We hope it was helpful to you.
Best Cricut Machine Deals on Amazon
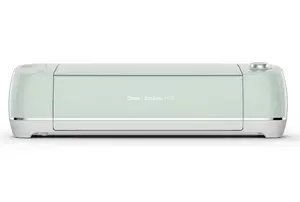
Cricut Explore Air 2
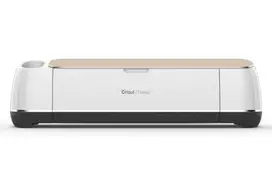
Check Price on AmazonCricut Maker – Smart Cutting Machine
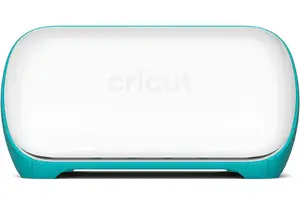
Check Price on AmazonCricut Joy Machine
Check Price on AmazonI specialize in writing tech-based product reviews for over 3 years now. My blogs aim to provide well-researched and informative content to help people make informed purchasing decisions.

